How to Spot the Signs Your Water Heater Needs Repair or Replacement
Your water heater is one of the most important appliances in your home, ensuring you have hot water for showers, washing dishes, and laundry. But like any appliance, it won’t last forever. Recognizing the early signs your water heater needs repair can help prevent bigger issues, costly replacements, or unexpected cold showers.
Inconsistent Water Temperature
If your water temperature fluctuates from hot to cold without adjusting the settings, it could indicate a failing heating element, sediment buildup, or a malfunctioning thermostat.
Strange Noises Coming from the Tank
Banging, popping, or rumbling sounds often mean sediment has built up at the bottom of the tank. As water heats up, the sediment hardens, forcing the unit to work harder and reducing efficiency. Flushing the tank can sometimes resolve the issue, but in severe cases, repairs or replacement may be necessary.
Discolored or Rusty Water
If you notice rusty or brown water coming from your taps, it could be a sign that your water heater’s tank is corroding from the inside. This is especially concerning if you have a traditional steel water heater, as corrosion can eventually cause leaks.
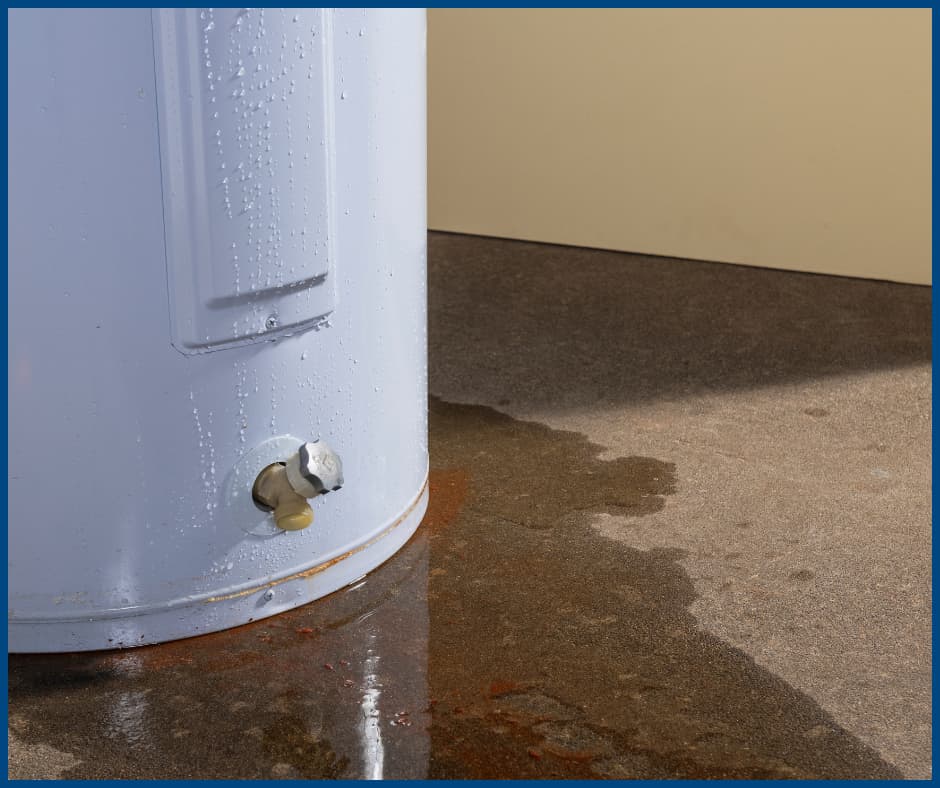
Water Leaks Around the Heater
A small puddle or moisture near the base of your water heater is a sign of trouble. Leaks can result from loose connections, a failing pressure relief valve, or internal damage to the tank itself. Even a small leak can lead to bigger water damage issues if not addressed quickly.
Running Out of Hot Water Too Quickly
If you’re suddenly running out of hot water faster than usual, it could indicate a problem with the heating elements or excessive sediment buildup reducing your tank’s capacity.
An Unexplained Increase in Energy Bills
A sudden spike in energy costs may mean your water heater is no longer operating efficiently. Older units or those in need of repair have to work harder to heat water, using more energy in the process.
A Foul or Rotten Egg Smell
If your hot water has a sulfur-like smell, bacteria may be growing inside the tank. This can usually be fixed by flushing the tank and replacing the anode rod, but if the problem persists, it might be time for a new water heater.
Repair or Replace? When to Decide
If your water heater is relatively new, a repair may be a cost-effective option. If it’s older, replacement might be a better long-term solution, especially if you’re frequently experiencing issues. When repair costs approach the price of a new unit, investing in a replacement is often the best choice.
Final Thoughts
Ignoring the signs your water heater needs repair can lead to costly breakdowns and disruptions to your daily routine. Catching problems early ensures you have reliable hot water when you need it. If you’ve noticed any of these warning signs, it may be time to call a professional to determine whether repair or replacement is the best option.
Why a Pre-Drywall Inspection Is a Must for Your New Home
Building a new home is an exciting journey, but before the walls go up, there’s a critical step that can save you from costly issues down the road—a Pre-Drywall Inspection. This inspection gives homebuyers and builders a chance to identify hidden problems before they’re covered up, ensuring the home’s structure, electrical, plumbing, and HVAC systems are installed correctly.
What Is a Pre-Drywall Inspection?
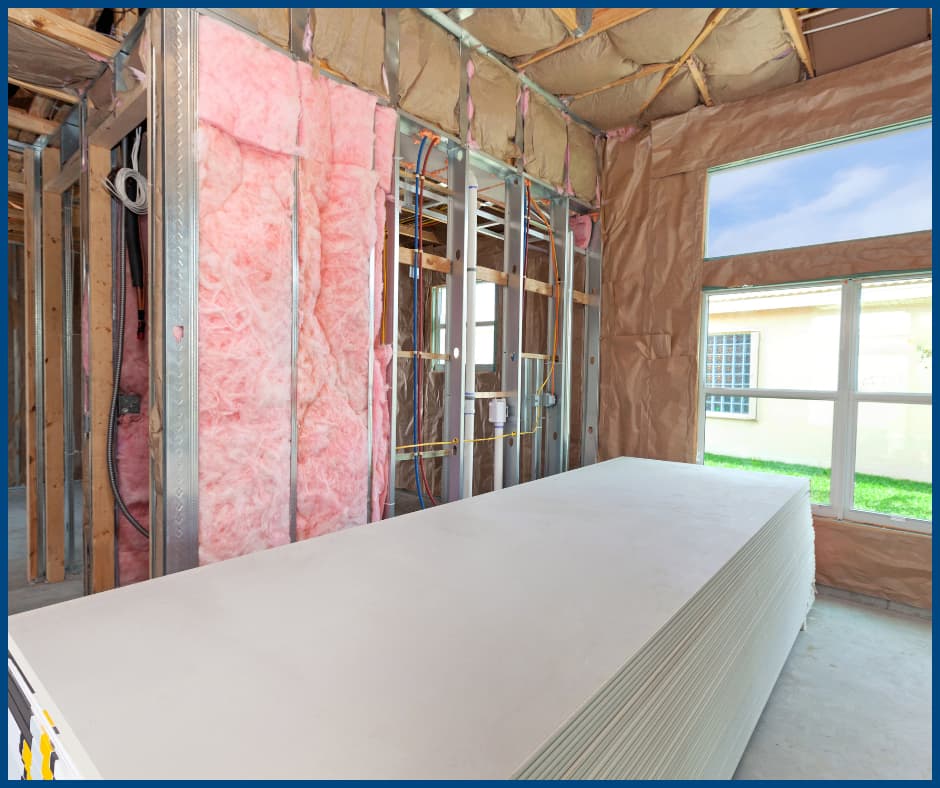
A Pre-Drywall Inspection happens after the framing, electrical, plumbing, HVAC, and insulation are in place but before the drywall is installed. This stage provides a clear view of your home’s inner workings, allowing inspectors to catch potential issues that might be impossible to detect later.
Why Is It Important?
Once drywall is up, accessing key systems becomes difficult. A thorough inspection can help prevent:
- Structural Concerns – Ensuring framing, sheathing, and supports meet building codes and engineering requirements.
- Electrical Issues – Confirming wiring, panel placement, and outlets are installed correctly to avoid safety hazards.
- Plumbing Problems – Checking for leaks, pipe placements, and proper connections that prevent future water damage.
- HVAC Efficiency – Verifying ductwork is sealed and positioned for optimal airflow and energy efficiency.
- Code Compliance – Making sure everything aligns with local building regulations to avoid costly corrections.
- Insulation Gaps – Identifying areas where insulation is missing or improperly installed, affecting energy efficiency.
What Happens During the Inspection?
A certified home inspector will walk through the home, documenting any concerns with photos and notes. If issues are found, they can be addressed before drywall installation, preventing expensive fixes later. The report provides valuable insights that help ensure quality construction.
Protect Your Investment
Skipping a Pre-Drywall Inspection could mean overlooking defects that only become apparent after moving in. Investing in this inspection ensures your home is built to last, giving you peace of mind before the final construction phase.
For expert Pre-Drywall Inspections in Delaware, AmeriSpec Inspection Services is here to help. Schedule yours today!
How to Stay Organized When Packing and Unpacking for a Big Move
Moving into a new home is an exciting milestone, but the process of packing and unpacking can quickly become overwhelming. Without a plan, it’s easy to lose track of important items, misplace essentials, or feel buried in boxes. A little preparation and organization can make the transition smoother and less stressful. Here are some practical ways to stay organized when packing and unpacking for your move.
Start with a Plan
Before you begin boxing things up, take some time to create a comprehensive plan. Outline a timeline for packing each room and identify which items you’ll need first in your new home. Consider gathering supplies early, including sturdy boxes, labels, packing tape, and bubble wrap.
Declutter Before Packing
Moving presents the perfect opportunity to sort through your belongings and eliminate anything you no longer need. Donate, sell, or discard items that no longer serve a purpose. This step not only lightens your load but also makes unpacking a much simpler task.
Pack by Room and Label Everything
Keeping items from each room together can significantly simplify the unpacking process. Label every box with its contents and the room it belongs in. Utilizing color-coded labels or stickers can also help movers place boxes in the correct locations quickly.
Create an Essentials Box
Set aside a box containing everyday necessities such as toiletries, important documents, medications, chargers, basic kitchenware, and a change of clothes. Having these items easily accessible will make your first night in the new home more comfortable.
Take Photos of Electronic Setups
Before unplugging any electronics, snap photos of cable arrangements to make reassembly easier. This simple step can save time and reduce frustration when setting up your TV, internet, or home office in your new space.
Unpack Strategically
Begin by unpacking the most essential areas such as the kitchen, bathroom, and bedrooms. Focusing on one room at a time can help prevent feeling overwhelmed and ensures a smooth transition into your new home.
Consider a Moving Support Service
Services like One Source and Canopy offer free move-in support, assisting with tasks like setting up utilities and providing home insurance quotes. Taking advantage of these resources can help reduce stress and streamline your move.
Making a move doesn’t have to be chaotic. With a bit of organization and the right approach, you can stay organized when packing and unpacking and settle into your new home with ease.
Common Issues in Older Homes and How to Prepare Sellers
Older homes have undeniable charm, but they often come with hidden challenges that can surprise sellers and buyers alike. If you’re preparing to sell an older home, understanding potential issues ahead of time can make the process smoother and prevent last-minute surprises. Here’s what to watch for and how to get ahead of common concerns.
Outdated Electrical Systems
Older homes may have knob-and-tube wiring, aluminum wiring, or outdated panels that can’t handle modern electrical demands. Faulty or overloaded electrical systems can pose fire hazards and may not meet current safety codes. Sellers should consider an electrical inspection and, if needed, upgrade outdated components before listing the home.
Plumbing Problems
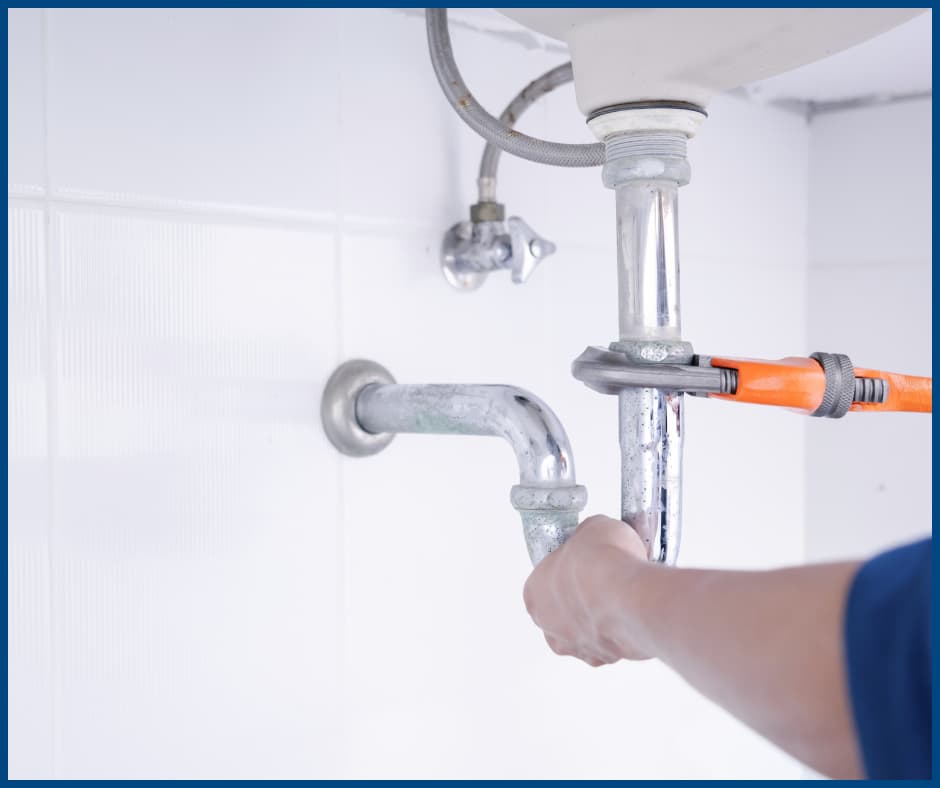
Galvanized pipes were common in older homes, but they tend to corrode over time, leading to leaks and poor water pressure. Cast iron drainpipes can also deteriorate, causing blockages. A professional plumbing inspection can identify potential issues before they become a deal-breaker for buyers.
Foundation and Structural Concerns
Settling, cracks in the foundation, and structural issues are common in older homes. Signs of trouble include uneven floors, sticking doors, and visible cracks in walls or ceilings. Addressing minor foundation repairs early can reassure buyers and prevent negotiations from stalling.
Roofing and Attic Issues
Older roofs may have missing shingles, leaks, or inadequate ventilation, leading to moisture buildup and potential mold problems. If the roof is nearing the end of its lifespan, sellers should consider repairs or a replacement to avoid inspection delays.
Insulation and Energy Efficiency
Many older homes lack proper insulation, making them less energy-efficient. Single-pane windows, drafty doors, and poor attic insulation can drive up energy costs. Simple updates like weatherstripping or adding insulation can make a big difference in the home’s appeal.
Lead Paint and Asbestos
Homes built before 1978 may contain lead-based paint, and those constructed before the 1980s could have asbestos in insulation, flooring, or siding. If these materials are present, sellers may need to disclose them or take steps to ensure safety compliance before selling.
Termite and Pest Damage
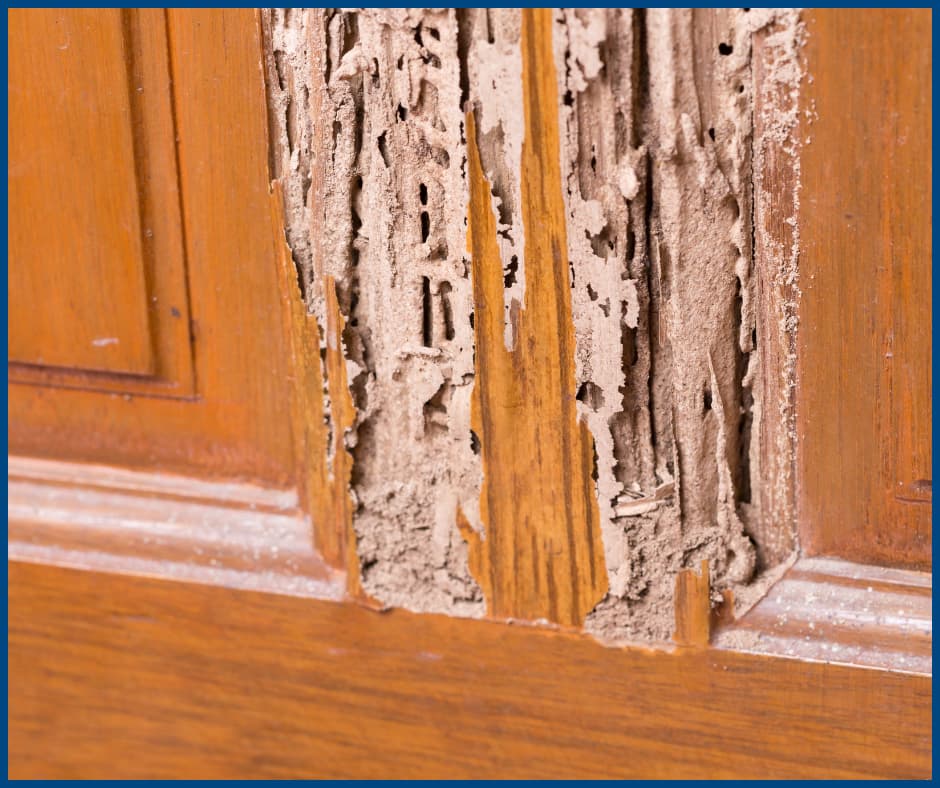
Wood-destroying insects like termites can cause significant structural damage over time. A termite inspection can help identify any past or current infestations, giving buyers confidence in the home’s condition.
How Sellers Can Prepare
- Schedule a Pre-Listing Inspection – Getting a Listing Inspection can uncover potential issues, allowing sellers to make necessary repairs or adjust pricing accordingly.
- Make Strategic Repairs – Not every issue needs a full renovation, but addressing critical concerns (like electrical, plumbing, or structural problems) can make the home more marketable.
- Be Transparent with Buyers – Disclosing known issues upfront helps build trust and prevents surprises during negotiations.
- Consider Offering a Home Warranty – A home warranty can provide buyers with peace of mind, especially in older homes with aging systems.
By proactively addressing these common issues in older homes, sellers can present their home in the best light, attract serious buyers, and ensure a smoother transaction. A little preparation goes a long way in making the selling process as seamless as possible.


